The Complete Beginner Guide to Amigurumi: How to Crochet Cute Plushies from Scratch
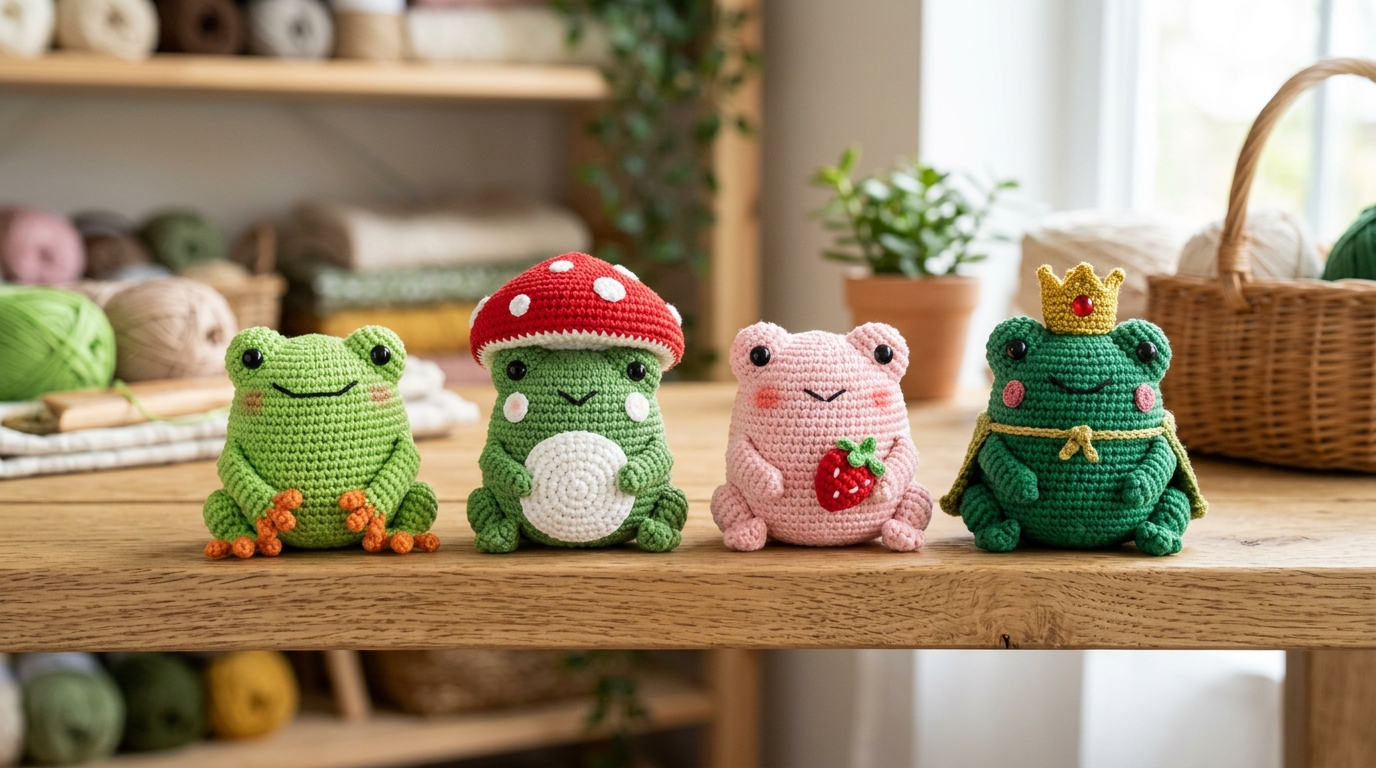
Amigurumi—the Japanese art of crocheting small, stuffed yarn creatures—is one of the most rewarding branches of fiber arts. With just a single crochet hook, a skein of cotton or chenille yarn, and a handful of polyester stuffing, you can bring adorable animals, botanical plants, and fantasy characters to life. This definitive pillar guide is your master roadmap: we break down the 6 foundational amigurumi techniques, provide clear materials advice, explain how to read round-by-round charts, and link directly to our complete library of free beginner patterns.
The 6 Core Techniques Every Amigurumi Maker Must Master
Before starting your first plushie, you only need to master six straightforward mechanical skills:
- The Magic Ring (Adjustable Loop): The starting circle that pulls 100% closed with zero center hole. Master this first using our Step-by-Step Magic Ring Photo Guide.
- The Single Crochet (SC): The fundamental tight stitch that builds 95% of all amigurumi bodies. Practice hand mechanics with our Single Crochet Stitch Tutorial.
- Working in Continuous Spiral Rounds: Unlike flat crochet where you turn at the end of every row, amigurumi is worked in a continuous spiral. You never join with a slip stitch; instead, you place a locking stitch marker in the last stitch of each round and crochet directly into the next stitch.
- The Single Crochet Increase (Inc): Working 2 single crochets into the same stitch to expand circumference (e.g. from 6 to 12 to 18 stitches).
- The Invisible Decrease (Inv-Dec): Decreasing by picking up the front loops only of adjacent stitches. This creates a smooth, gap-free taper that keeps white fiberfill invisible.
- The 7-Stitch Drawstring Closure: Weaving your yarn tail through the front loops of the final round to cinch the base flat and seamless.
Essential Amigurumi Materials & Tool Selection
- Yarn Selection (Cotton vs Acrylic vs Chenille):
- 100% Mercerized Cotton (Category 4 Worsted): The best fiber for beginners. Doesn’t split, offers crisp stitch definition, and creates firm toys that hold their shape.
- Super Bulky Chenille (Category 6): Creates giant, ultra-soft squishies (like our viral strawberry cow). Requires careful tension to avoid snapping delicate core threads.
- Acrylic Blends: Budget-friendly and widely available in hundreds of colors. Look for tightly twisted 4-ply yarns.
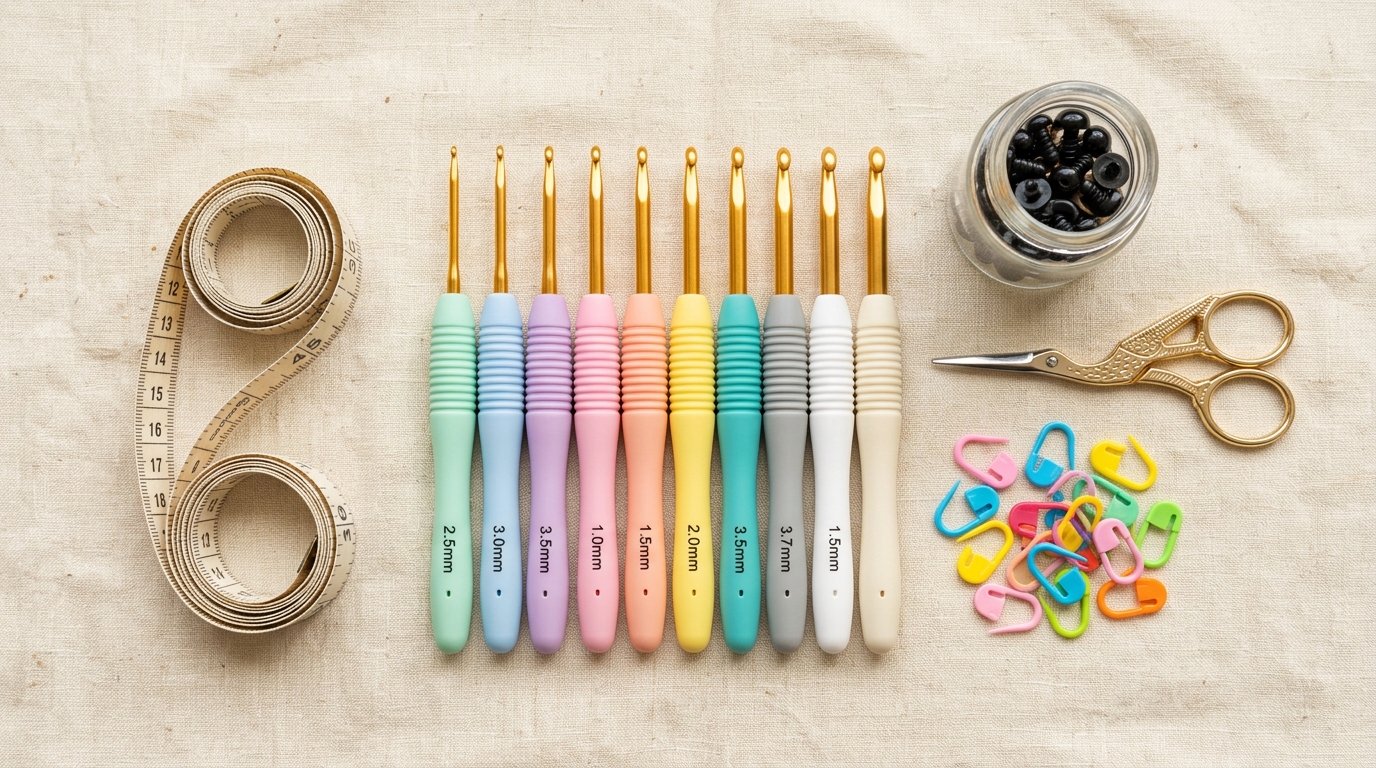
- The Downsizing Hook Rule: Always choose a crochet hook that is 0.75mm to 1.25mm smaller than the size printed on your yarn label. If your worsted cotton yarn recommends a 4.5mm hook, use a 3.25mm (US D/3) or 3.5mm (US E/4) hook. This forces stitches to interlock tightly so stuffing never peeks through.
- Safety Eyes & Safety Standards: Standard 8mm–12mm plastic safety eyes look glossy and professional. However, for toys intended for infants or toddlers under 3 years old, omit plastic hardware and embroider features with black cotton thread to prevent choking hazards.
The Golden Rule of Amigurumi: Yarn Under (X-Stitch) vs Yarn Over (V-Stitch)
If you have ever wondered why professional designer amigurumi has crisp little “X” shaped stitches while beginner work has “V” shapes, the difference is how you capture the yarn:
- Traditional Yarn Over (V-Stitch): Hook passes under the working yarn; yarn wraps over the hook. Creates a flexible, slightly stretchy fabric.
- Pro Yarn Under (X-Stitch): Hook passes over the working strand; yarn is pulled down underneath the hook. This creates an “X” shaped stitch that is 15% denser, eliminates gaps, and prevents the natural clockwise slant of spiral rounds.
How to Stuff Amigurumi Like a Pro (The 3-Stage Method)
Stuffing dictates the posture and lifespan of your toy. Avoid packing dense clumps directly from the bag. Follow the 3-Stage Protocol:
- Stage 1 (Extremities): Pack small, firm tufts of teased fiberfill into the head dome and around the backings of safety eye washers.
- Stage 2 (Wall Lining): Line the outer circumference walls of the body cavity with wispy clouds of fiberfill before filling the core. This keeps outer surfaces smooth without dimples.
- Stage 3 (Core Density Check): Squeeze the toy gently. It should rebound immediately like a ripe avocado—firm, supportive, and bouncing back into shape.
Top 5 Beginner Mistakes in Amigurumi
- Crocheting Inside Out: The “right side” of amigurumi has clean horizontal “V” or “X” bars; the “wrong side” has horizontal ridges. Make sure your hook enters from the outside of the cup toward the inside so the right side faces outward.
- Losing the Starting Stitch: Always use a locking stitch marker in the final stitch of every round. Missing a single increase throws off the symmetry of the entire creature.
- Loose Decreases: Never use standard `sc2tog`. Always use the front-loop Invisible Decrease.
- Overstuffing the Base: Overstuffing the bottom rounds causes plushies to roll over instead of sitting upright. Keep the base lightly filled or add poly-pellets for weight.
- Crooked Limbs: Use long pearl-headed pins to anchor arms, snouts, and ears in position before sewing. Check symmetry from all angles.
Free Beginner Amigurumi Patterns to Start Today
Ready to start stitching? Choose one of our verified, beginner-friendly patterns:
- 🐸 Free Crochet Frog Pattern: Cute No-Sew Tree Frog Amigurumi — Our #1 most popular pattern! 100% seamless no-sew design completed in 40 minutes.
- 🍓 Free Crochet Strawberry Cow Pattern: Chubby Amigurumi Plushie — Viral pastel amigurumi with mini strawberry horns and pink patches.
- 👜 Modern Granny Square Tote Bag Free Pattern — Beautiful 13-square market bag with sag-proof thermal handles.
Frequently Asked Questions
How long does it take to learn amigurumi for a complete beginner?
Most crafters master the magic ring and single crochet in 1–2 practice sessions (about 2 hours). You can easily complete your first small plushie (like our No-Sew Frog) on your very first weekend!
What is the best crochet hook for preventing hand fatigue?
We recommend the Clover Amour 3.25mm or 3.5mm ergonomic hook. Its cushioned elastomer rubber handle absorbs hand pressure and prevents cramping during tight amigurumi tensioning.