How to Crochet the Waffle Stitch: Complete Textured Masterclass
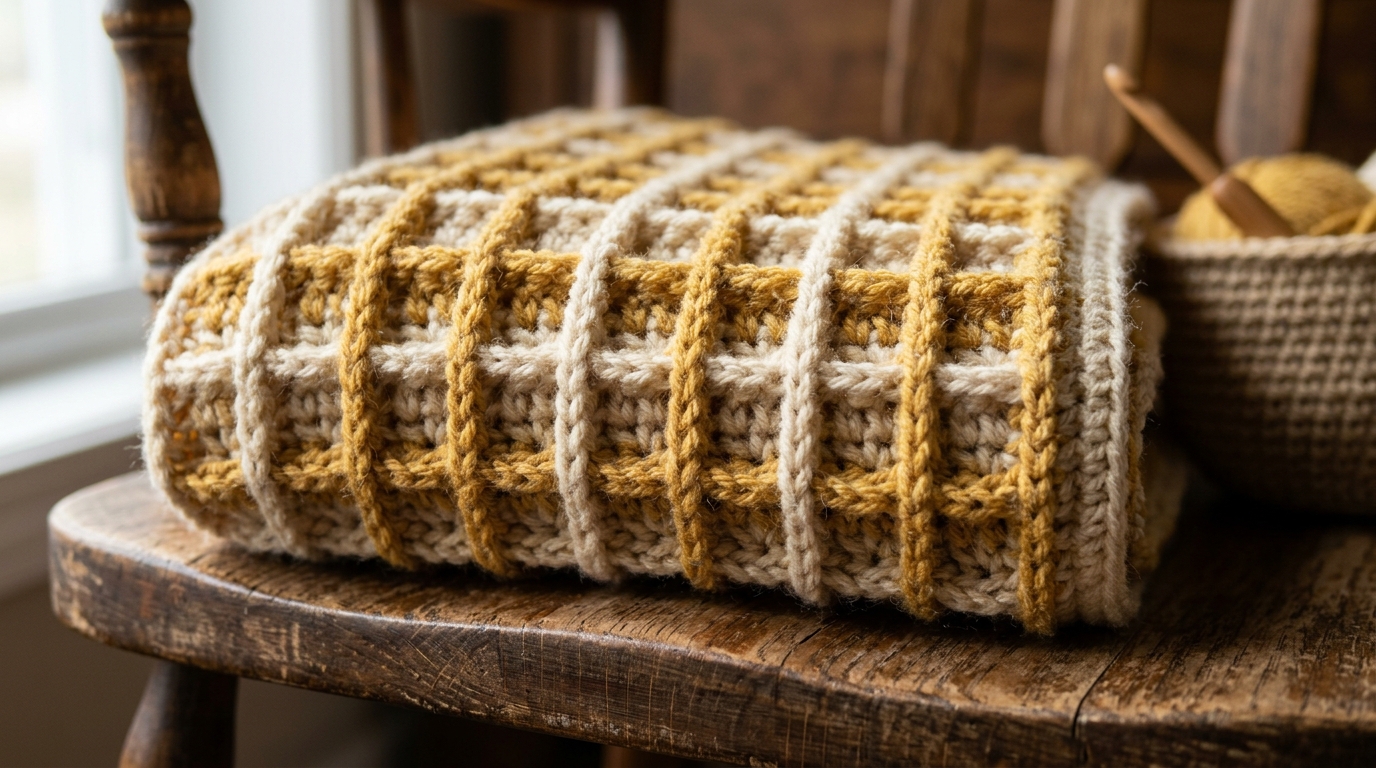
With its rich geometric grid, squishy thermal density, and deeply satisfying 3D texture, the Waffle Stitch is one of the most beloved stitch patterns in crochet. Perfect for plush baby blankets, thermal potholders, textured washcloths, and winter cardigans, this stitch creates a thick, double-sided fabric that traps air for unmatched warmth.
Why This Stitch Is Great
- Easy 2-Row Repeat: Once you complete the foundation setup, the entire pattern is a simple repetition of Row 2 and Row 3.
- Extreme Texture: The raised front post ridges pop out dramatically from recessed valleys, looking far more complex than it actually is.
- Reversible Thermal Warmth: The back of the work forms a clean textured grid, making it ideal for blankets and scarves where both sides show.
Skill Level & Materials
- Skill Level: Advanced Beginner (Requires basic double crochet and comfort working around the post of stitches)
- Recommended Yarn: Worsted Weight (Category 4) Cotton for dishcloths or soft Acrylic/Wool blend for blankets
- Hook Size: 5.00 mm (US H/8) — Waffle stitch is dense; going up 0.5mm on hook size gives your blanket cozy, flexible drape.
- Notions: Tapestry needle, scissors, tape measure
Stitch Multiples & Foundation Math
The Waffle Stitch is worked over a multiple of 3 + 2 stitches, plus 2 additional chains for your starting turning chain:
- Dishcloth / Washcloth (8 × 8 in): Chain 32 (30 + 2)
- Baby Blanket (32 × 36 in): Chain 122 (120 + 2)
- Throw Blanket (50 × 60 in): Chain 182 (180 + 2)
The Front Post Double Crochet (FPDC) Explained
The raised 3D ridges are formed by working around the vertical post (the column) of the stitch below rather than into the top loops:
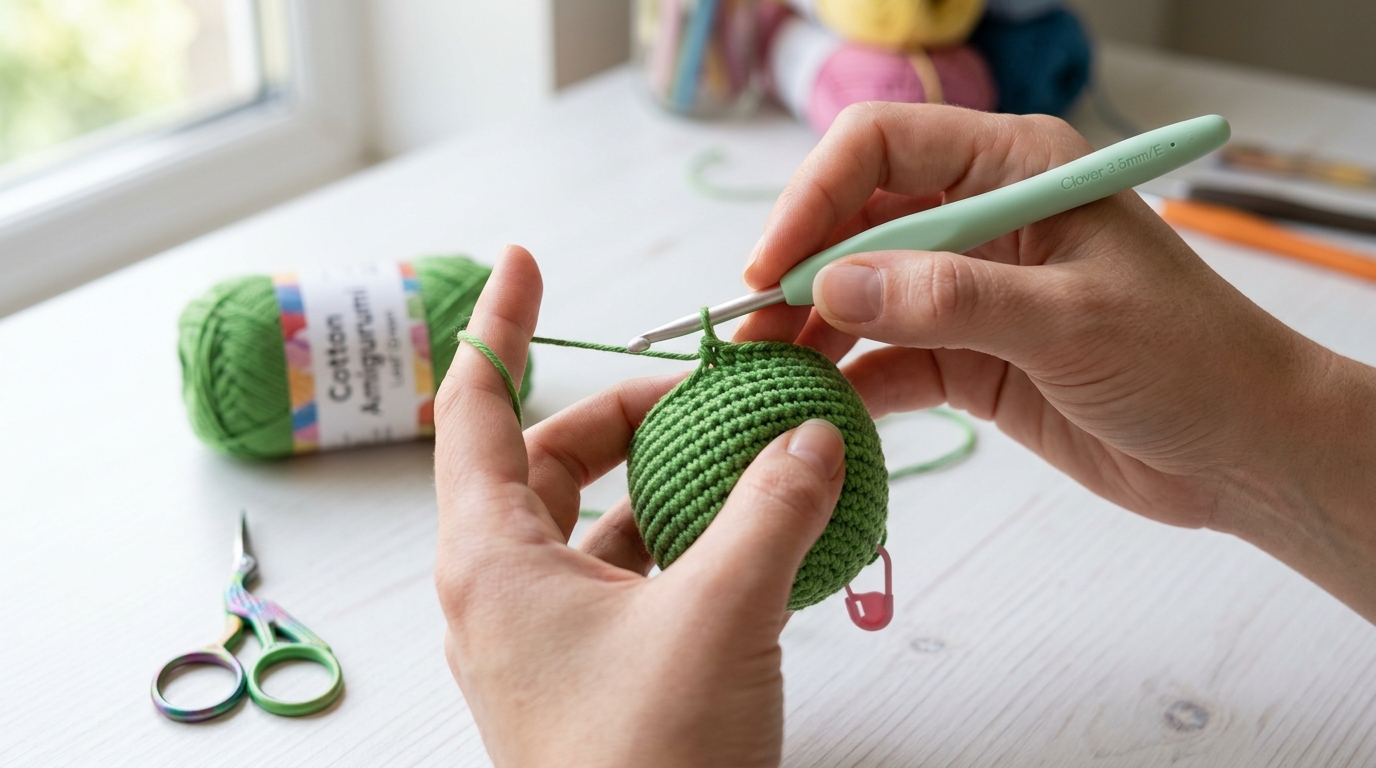
- Yarn over (YO) and insert your hook from the front of your work to the back, and back out to the front on the other side of the vertical stitch post.
- YO and pull up a loop (3 loops on hook).
- YO and pull through 2 loops (2 loops on hook).
- YO and pull through remaining 2 loops. (FPDC complete).
Step-by-Step Row Instructions
- Row 1 (Foundation Row): Double crochet (dc) into the 3rd chain from your hook and in every chain across to the end. Turn.
- Row 2 (Right Side): Ch 2 (counts as first dc), *work 1 FPDC around the next st, work 1 dc in top loops of next 2 sts; repeat from * across until 2 sts remain. Work 1 FPDC around next st, 1 dc in top of turning chain. Turn.
- Row 3 (Wrong Side): Ch 2 (counts as first dc), *work 1 dc in top loops of next st, work 1 FPDC around each of the next 2 sts; repeat from * across until 2 sts remain. Work 1 dc in next st, 1 dc in top of turning chain. Turn.
- Rows 4 and Beyond: Repeat Row 2 and Row 3 consecutively until your project reaches your desired length!
Common Mistakes & Troubleshooting
- Edges are bowing or slanting: Make sure you never skip the final double crochet into the top of the turning chain at the very end of each row.
- Fabric feels stiff like cardboard: Front post stitches pull fabric tight. Increase your hook size by 0.5mm to 1.0mm (e.g., from 5.0mm to 6.0mm) to restore soft, squishy drape.
Frequently Asked Questions
Does the Waffle Stitch use more yarn than standard double crochet?
Yes. Because front post stitches overlap vertical rounds and create 3D ridges, the waffle stitch consumes approximately 25% to 30% more yarn than standard flat double crochet.