How to Make a Magic Ring in Crochet (Step-by-Step with Pictures)
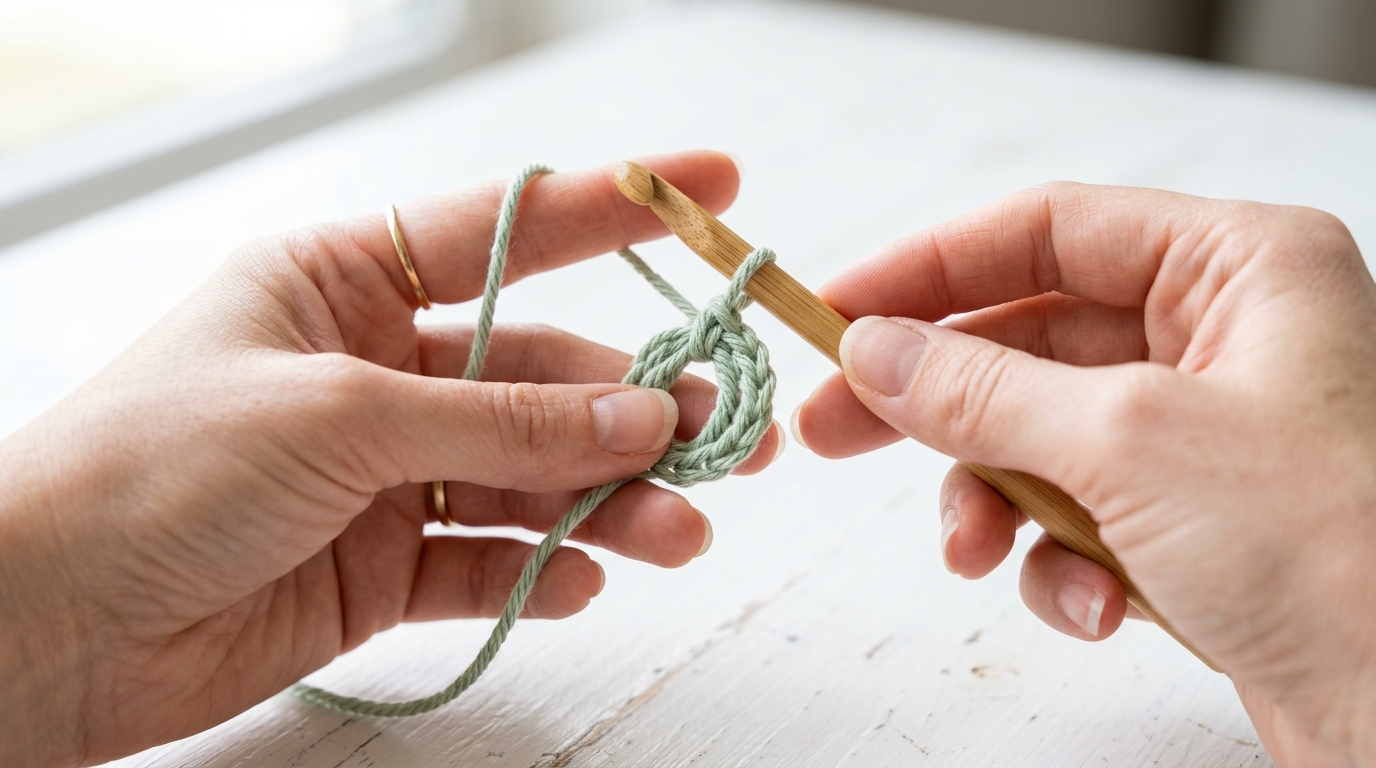
If you have ever started an amigurumi plushie, round coaster, or beanies and ended up with an unsightly gaping hole in the center, the Magic Ring (also called the Magic Circle or Adjustable Loop) is the single most essential technique you must master. Unlike fixed foundation chains, a magic ring pulls completely shut with zero center gap.
Why the Magic Ring Beats Chain 2
- 100% Gap-Free Center: Pulling the tail cinches the starting circle completely closed, locking all internal stuffing safely inside.
- Adjustable Tension: You can loosen the ring while working your initial 6 stitches, then tighten it with one smooth pull.
- Professional Finish: Gives round motifs, hats, and amigurumi a clean, seamless crown.
Step-by-Step Photo Instructions
- Step 1 (The Two-Finger Wrap): Drape your yarn tail across the palm of your non-dominant hand. Wrap the working yarn around your index and middle fingers, crossing over the tail on top of your fingers to form an “X”. Hold the crossing point with your thumb.
- Step 2 (Hook Insertion): Slide your crochet hook under the bottom-right strand of the “X”, catch the top-left working strand with your hook tip, and pull it under the first strand, rotating your hook upward to create a working loop.
- Step 3 (The Chain-1 Lock): Yarn over with your working yarn and draw through the loop on your hook. This creates a Chain 1 that locks your adjustable ring in place.
- Step 4 (Working Stitches into Ring): Insert hook into the center of the ring, ensuring you crochet over both the main loop and the yarn tail. Work your required number of single crochets (usually 6 for amigurumi).
- Step 5 (Cinching Shut): Hold your stitches firmly with your fingers and pull the yarn tail steadily. The center opening will collapse into a tight, seamless circle!
Common Mistakes & Fixes
- The ring won’t pull shut: You crocheted around only one strand of yarn instead of both the circle and tail. Your hook must go under both strands for every stitch.
- The ring pops open after washing: Never cut your tail short immediately! Thread the tail onto a tapestry needle and weave it back and forth in three alternating directions through the back of Round 1.