Easy Crochet Bunny Pattern for Beginners: Step-by-Step Free Amigurumi Tutorial
If you have ever wanted to make an adorable, heirloom-quality amigurumi animal with perfectly floppy ears and a sweet embroidered face, this easy crochet bunny pattern is the ultimate beginner-friendly project. Designed from the ground up for crafters with basic single-crochet skills, this step-by-step masterclass walks you through every stitch, shaping formula, and seamless assembly technique needed to create a huggable handmade rabbit.
📋 Pattern Summary & Quick Specs
- Skill Level: Easy / Advanced Beginner (Requires single crochet, increases, and invisible decreases).
- Finished Height: Approximately 7.0 inches (18 cm) seated, 9.5 inches (24 cm) standing with ears.
- Crafting Time: 2.5 to 3.5 hours from start to finish.
- Primary Stitches: Single Crochet (sc), Half Double Crochet (hdc), Double Crochet (dc), Magic Ring (MR).
- Key Features: Weighted self-standing pear torso, cupped floppy lop ears, and baby-safe facial embroidery.
Why Crochet Bunnies Are So Popular
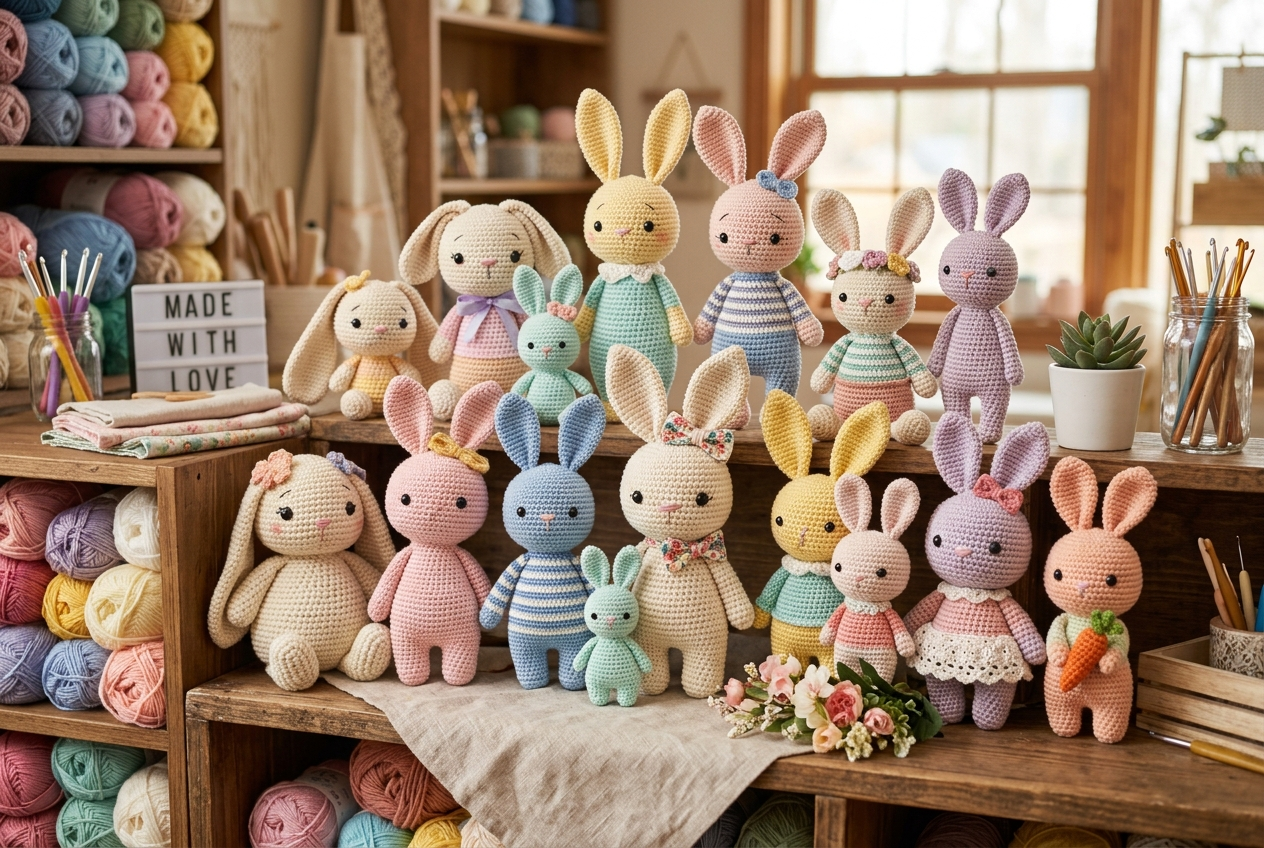
Bunnies consistently rank as the number-one most requested amigurumi project in the crafting world, and for good reason. Unlike complex four-legged quadruped animals that require stiff internal armatures, the natural posture of a seated rabbit relies on soft, rounded geometric shapes that are forgiving for beginners.
From newborn baby shower keepsakes and Easter basket treasures to nursery decor and stress-relief desk companions, crochet bunnies carry a nostalgic, handmade warmth that mass-produced plushies simply cannot replicate. Furthermore, the rabbit silhouette acts as a versatile canvas: simply changing the ear style from long floppy Holland Lop ears to perky upright Netherland Dwarf ears completely transforms the personality of your finished toy.
Materials You’ll Need
🏆 Our Top Recommended Hook Set
The Clover Amour set features silky smooth aluminum heads and soft rubberized comfort grips that eliminate hand fatigue.
Check Price on Amazon →As an Amazon Associate, Loop & Blossom earns from qualifying purchases.
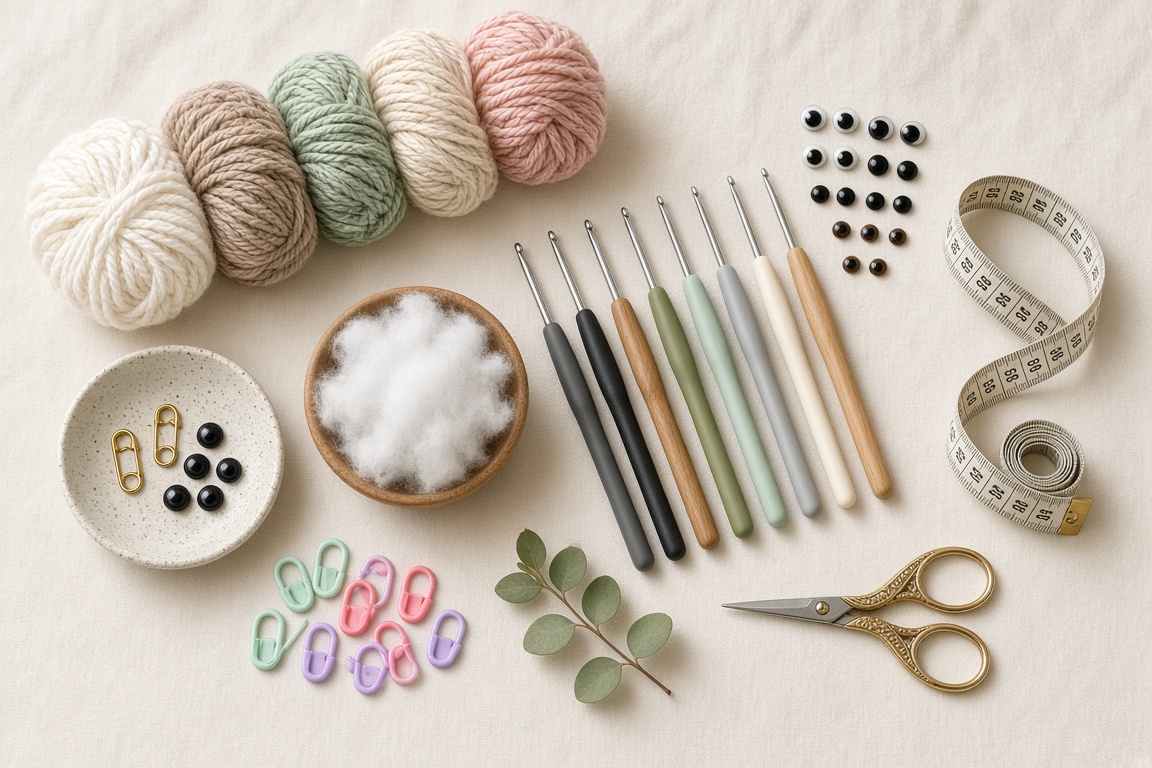
Having the right tools ready before you cast on ensures smooth, even tension and prevents mid-project frustration. Here is the exact materials checklist used for this pattern:
- Main Body Yarn: 50g (approx. 125 meters) of DK or Worsted Weight 100% Combed Cotton in Cream or Natural Oatmeal (e.g., Paintbox Yarns Cotton DK or Lion Brand 24/7 Cotton).
- Accent Yarn: 15g of Dusty Rose or Baby Pink cotton for the scarf and inner ear embroidery.
- Crochet Hook: 2.75mm (US C/2) or 3.0mm ergonomic hook. Choosing a hook 0.5mm–1.0mm smaller than the yarn label recommends is vital to produce tight, gapless fabric that keeps stuffing concealed. If your hands cramp during long sessions, explore our guide to the best ergonomic crochet hooks for pain relief.
- Safety Eyes: One pair of 8mm or 9mm glossy black plastic safety eyes with secure backings (or black embroidery floss for baby-safe eyes).
- Stuffing: High-grade polyester fiberfill (Poly-Fil) with a smooth, non-clumping loft.
- Notions: Locking plastic stitch markers, bent-tip tapestry needle, precision scissors, and a flexible tailor’s measuring tape.
👀 Essential: Multi-Size Safety Eyes & Noses Box
Complete organizer set with 6mm to 12mm black safety eyes and secure washer backings for plushies.
Check Price on Amazon →☁️ Best Stuffing: Fairfield Poly-Fil Premium Fiberfill
100% hypoallergenic, non-clumping loft that gives amigurumi toys a smooth, huggable shape.
View on Amazon →Choosing the Best Yarn for Crochet Bunnies
🧶 Top Cotton Yarn: Lion Brand 24/7 Cotton
100% mercerized natural cotton with incredible stitch definition, zero pilling, and machine-washable durability.
Check Price on Amazon →☁️ Best Velvet Yarn: Premier Parfait Chunky / Bernat Blanket
Super bulky #6 chenille for viral, ultra-soft plushies and squishy amigurumi animals.
View on Amazon →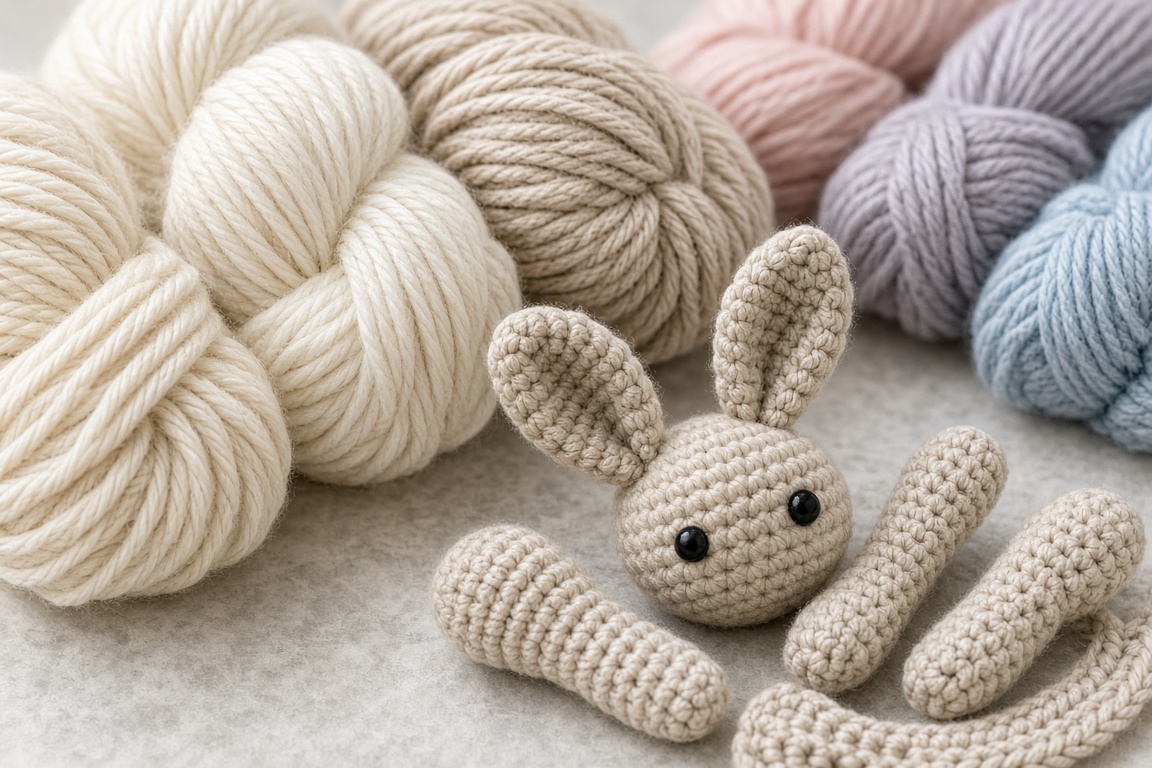
The fiber you select dictates the physical structure, tactile feel, and longevity of your finished bunny. Here is how the three primary amigurumi yarn categories compare:
| Yarn Fiber | Stitch Definition | Durability & Washing | Best Suited For |
|---|---|---|---|
| 100% Combed Cotton | ⭐️⭐️⭐️⭐️⭐️ (Flawless, crisp stitches) | Machine washable, zero pilling, baby-safe | Heirloom gifts, teethers, detailed classic toys |
| Super Bulky #6 Chenille | ⭐️⭐️⭐️ (Soft, velvety, low stitch view) | Spot clean / delicate hand wash | Giant squishy cuddle plushies & trendy decor |
| Anti-Pilling Acrylic | ⭐️⭐️⭐️⭐️ (Good clarity, lightweight) | Machine washable, durable | Budget-friendly crafting & high-volume craft fairs |
For beginners making their first bunny, DK weight 100% cotton is strongly recommended because the individual stitch loops remain clearly visible, preventing missed stitches or split plies.
Understanding Bunny Anatomy Before Crocheting
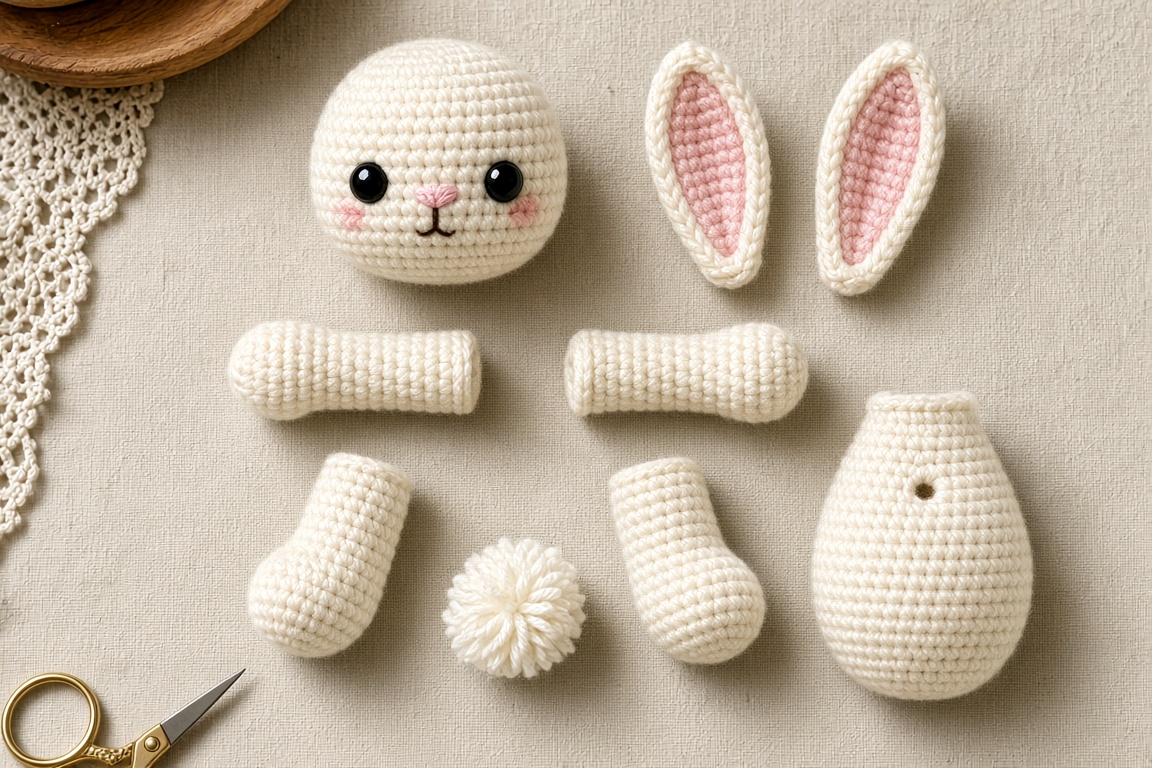
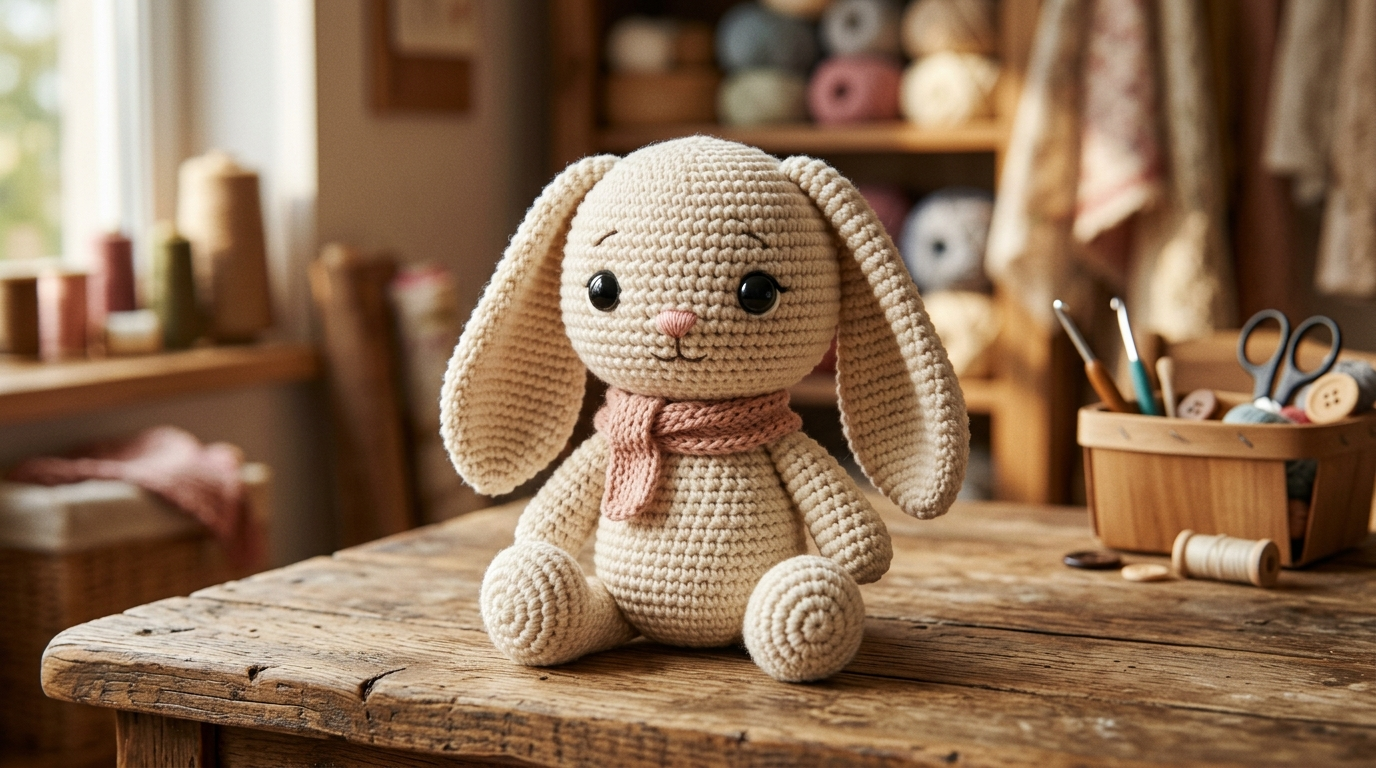
Before picking up your hook, study how the individual components interact structurally. As shown in the flat-lay diagram above, a stable, self-standing crochet bunny is composed of six distinct anatomical modules:
- The Spherical Head: Crocheted top-down with gradual increases to create rounded cheeks, with safety eyes positioned low on the face for an endearing “chibi” expression.
- The Symmetrical Ears (Make 2): Constructed with a central chain foundation that flares outward before tapering into a pinchable base seam.
- The Front Arms / Paws (Make 2): Slender, lightly stuffed cylinders that attach directly below the neck collar.
- The Curved Haunch Feet (Make 2): Ergonomically shaped with short-row heel turns so the feet naturally project forward when seated.
- The Pear-Shaped Torso: Features a wide, weighted lower base that narrows gradually toward the neck aperture.
- The Pom-Pom Puff Tail: Acts as a structural tripod base, preventing the bunny from tipping backward.
👀 Essential: Multi-Size Safety Eyes & Noses Box
Complete organizer set with 6mm to 12mm black safety eyes and secure washer backings for plushies.
Check Price on Amazon →☁️ Best Stuffing: Fairfield Poly-Fil Premium Fiberfill
100% hypoallergenic, non-clumping loft that gives amigurumi toys a smooth, huggable shape.
View on Amazon →Crochet Bunny Head Tutorial
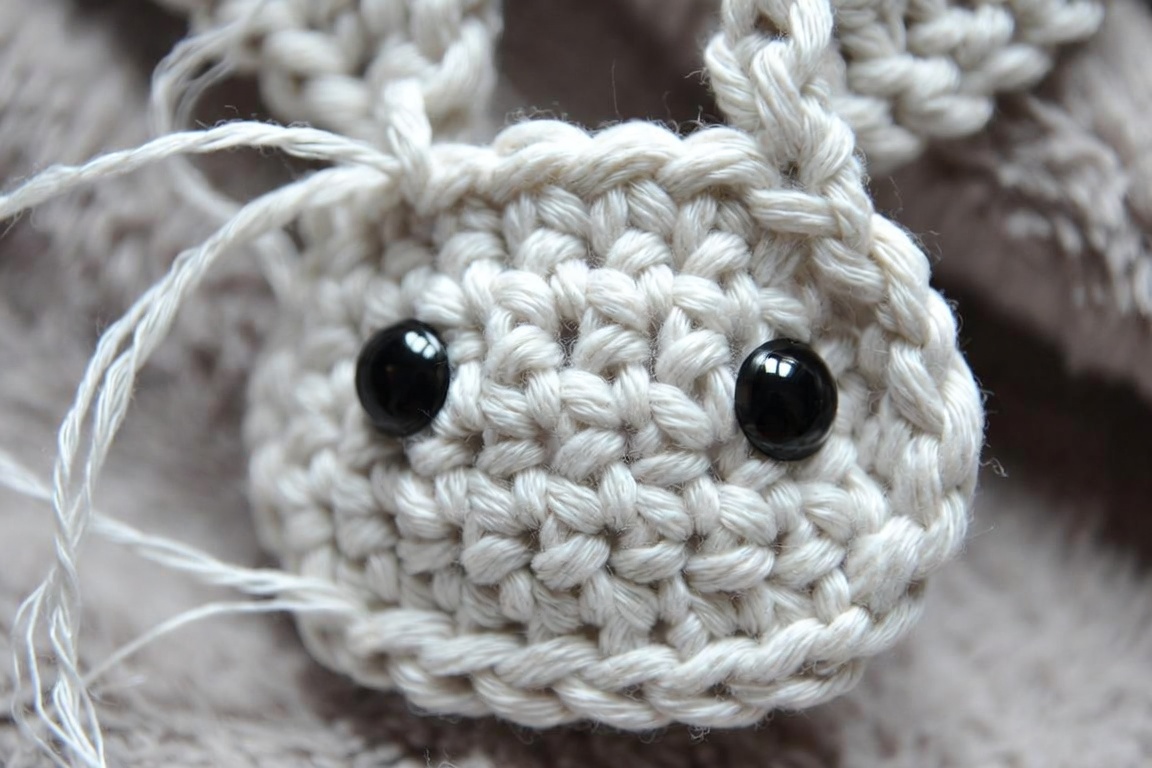
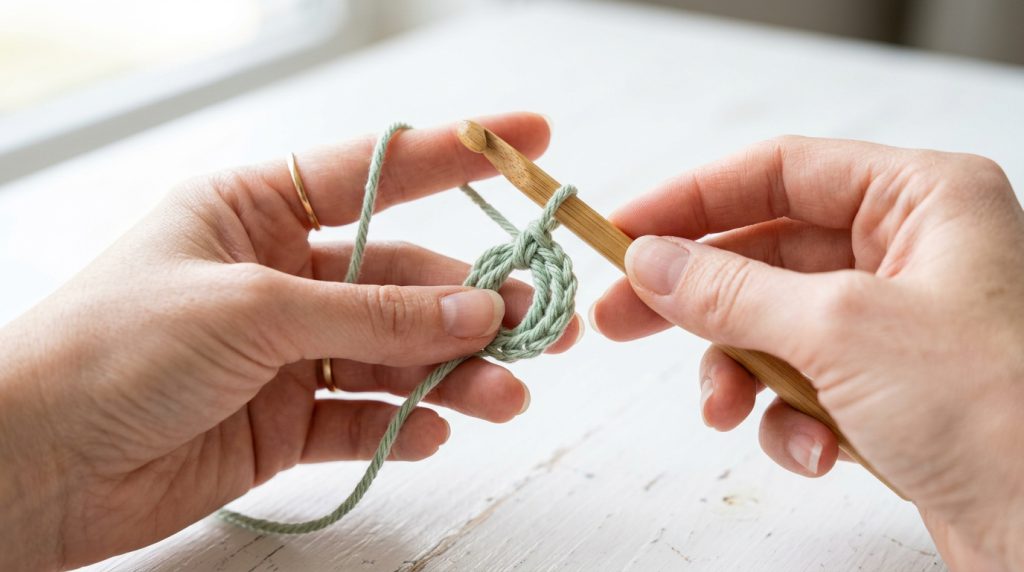
The head is worked in continuous unjoined spirals from the top crown down toward the neck. Use a locking stitch marker in the first stitch of every round. If you need a refresher on starting with an adjustable loop, see our step-by-step Magic Ring photo tutorial and review basic mechanics in our Single Crochet stitch guide.
Head Written Pattern:
- R1: 6 sc in Magic Ring. [6]
- R2: inc in each st around. [12]
- R3: (1 sc, inc) x 6. [18]
- R4: (2 sc, inc) x 6. [24]
- R5: (3 sc, inc) x 6. [30]
- R6: (4 sc, inc) x 6. [36]
- R7–R12: sc in each st around (6 rounds total). [36]
- Eye Placement: Insert 8mm safety eyes between R10 and R11, leaving 8 visible stitches between the eye posts. Snap washer backings firmly into place on the inside cavity.
- R13: (4 sc, invdec) x 6. [30]
- R14: (3 sc, invdec) x 6. [24] — Begin stuffing the head firmly with polyfill, molding the cheek contours with your thumbs.
- R15: (2 sc, invdec) x 6. [18]
- R16: (1 sc, invdec) x 6. [12]
- R17: invdec x 6. [6]
- Fasten off, weave yarn tail through front loops of remaining 6 stitches, cinch tightly to close, and hide tail inside head.
👀 Essential: Multi-Size Safety Eyes & Noses Box
Complete organizer set with 6mm to 12mm black safety eyes and secure washer backings for plushies.
Check Price on Amazon →☁️ Best Stuffing: Fairfield Poly-Fil Premium Fiberfill
100% hypoallergenic, non-clumping loft that gives amigurumi toys a smooth, huggable shape.
View on Amazon →Crochet Bunny Ear Tutorial
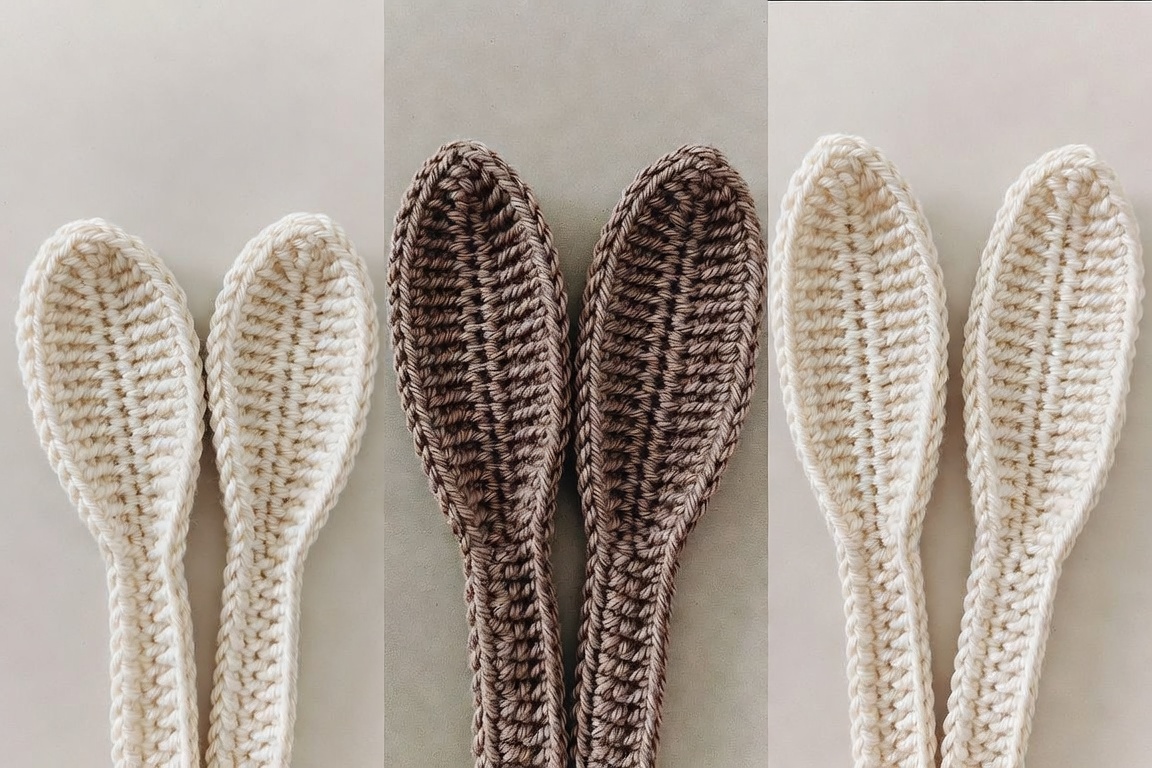
To achieve the signature floppy lop contour shown in the tutorial photograph, these ears are worked flat around a center foundation chain. Do not stuff the ears—keeping them flat allows gravity to drape them gently alongside the cheeks.
Ear Pattern (Make 2):
- Foundation Chain: Ch 16.
- Round 1: Starting in 2nd ch from hook: 4 sc, 4 hdc, 6 dc, 6 dc in the last chain to turn the corner; working along the opposite underside of foundation chain: 6 dc, 4 hdc, 4 sc. [30 sts]
- Round 2: Ch 1, turn (or work around in continuous perimeter): sc in each st to the rounded top, work 2 sc in each of the 4 apex stitches, sc down opposite side. [34 sts]
- Fasten off, leaving a 12-inch (30 cm) yarn tail for sewing. Fold the bottom base edge in half to create a 3D cupped channel, and whipstitch 2 securing stitches across the base.
👀 Essential: Multi-Size Safety Eyes & Noses Box
Complete organizer set with 6mm to 12mm black safety eyes and secure washer backings for plushies.
Check Price on Amazon →☁️ Best Stuffing: Fairfield Poly-Fil Premium Fiberfill
100% hypoallergenic, non-clumping loft that gives amigurumi toys a smooth, huggable shape.
View on Amazon →Crochet Bunny Body Construction
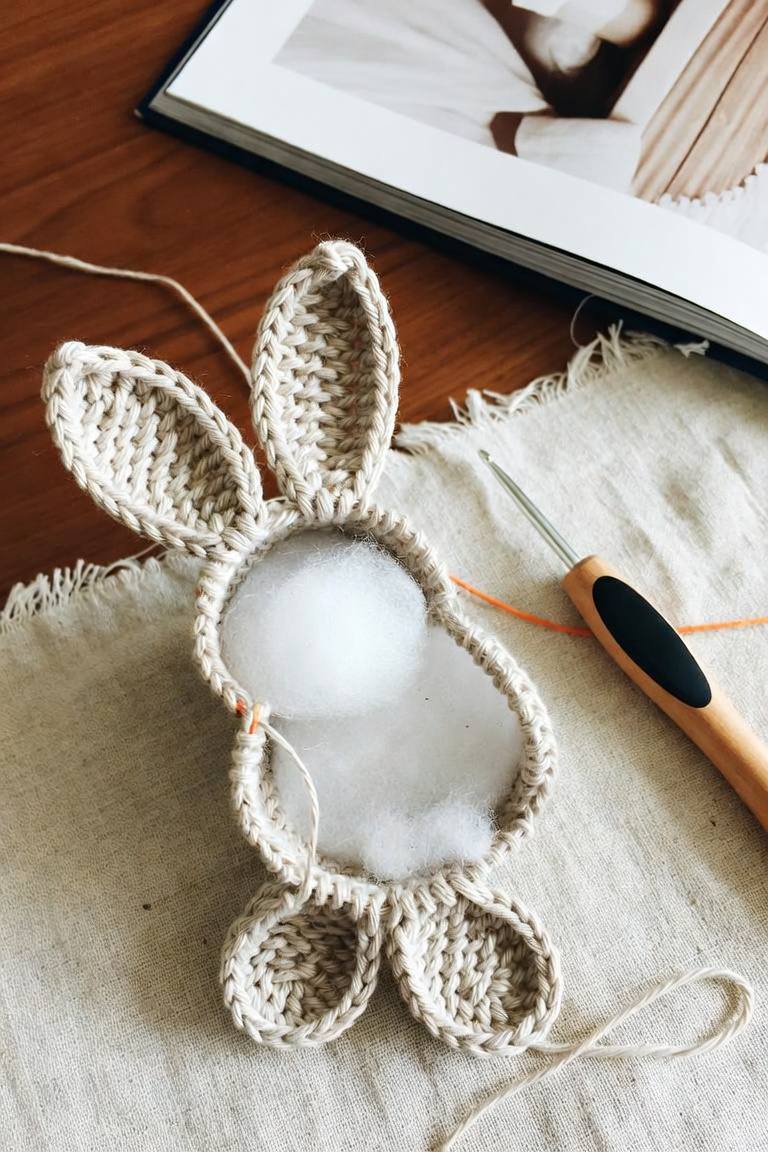
The body is crocheted bottom-up to establish a solid, flat pelvic foundation that allows your bunny to sit securely on shelves or tabletops without rolling over.
Body Written Pattern:
- R1: 6 sc in MR. [6]
- R2: inc x 6. [12]
- R3: (1 sc, inc) x 6. [18]
- R4: (2 sc, inc) x 6. [24]
- R5: (3 sc, inc) x 6. [30]
- R6: (4 sc, inc) x 6. [36]
- R7–R11: sc in each st around (5 rounds). [36]
- R12: (4 sc, invdec) x 6. [30]
- R13–R14: sc in each st around. [30] — Add a small pouch of poly-pellets or dense fiberfill into the base.
- R15: (3 sc, invdec) x 6. [24]
- R16: sc in each st around. [24]
- R17: (2 sc, invdec) x 6. [18]
- R18: (1 sc, invdec) x 6. [12]
- Fasten off, leaving a long 14-inch tail for whipstitching to the head. Stuff the upper torso firmly, ensuring the neck area is rigid to prevent head wobble.
👀 Essential: Multi-Size Safety Eyes & Noses Box
Complete organizer set with 6mm to 12mm black safety eyes and secure washer backings for plushies.
Check Price on Amazon →☁️ Best Stuffing: Fairfield Poly-Fil Premium Fiberfill
100% hypoallergenic, non-clumping loft that gives amigurumi toys a smooth, huggable shape.
View on Amazon →Arms / Front Paws (Make 2): R1: 5 sc in MR [5]; R2: inc x 5 [10]; R3–R10: sc in each st [10]. Stuff only the bottom half lightly; leave top open and flatten.
Haunch Feet (Make 2): R1: 6 sc in MR [6]; R2: inc x 6 [12]; R3: (1 sc, inc) x 6 [18]; R4–R6: sc in each st [18]; R7: (1 sc, invdec) x 6 [12]; R8–R11: sc in each st [12]. Stuff foot firmly, flatten top opening.
How to Assemble the Bunny
🪡 Pro Seaming Tool: Bent-Tip Tapestry Needles
Large eyes for easy yarn threading and curved tips that glide under stitches to attach limbs effortlessly.
View on Amazon →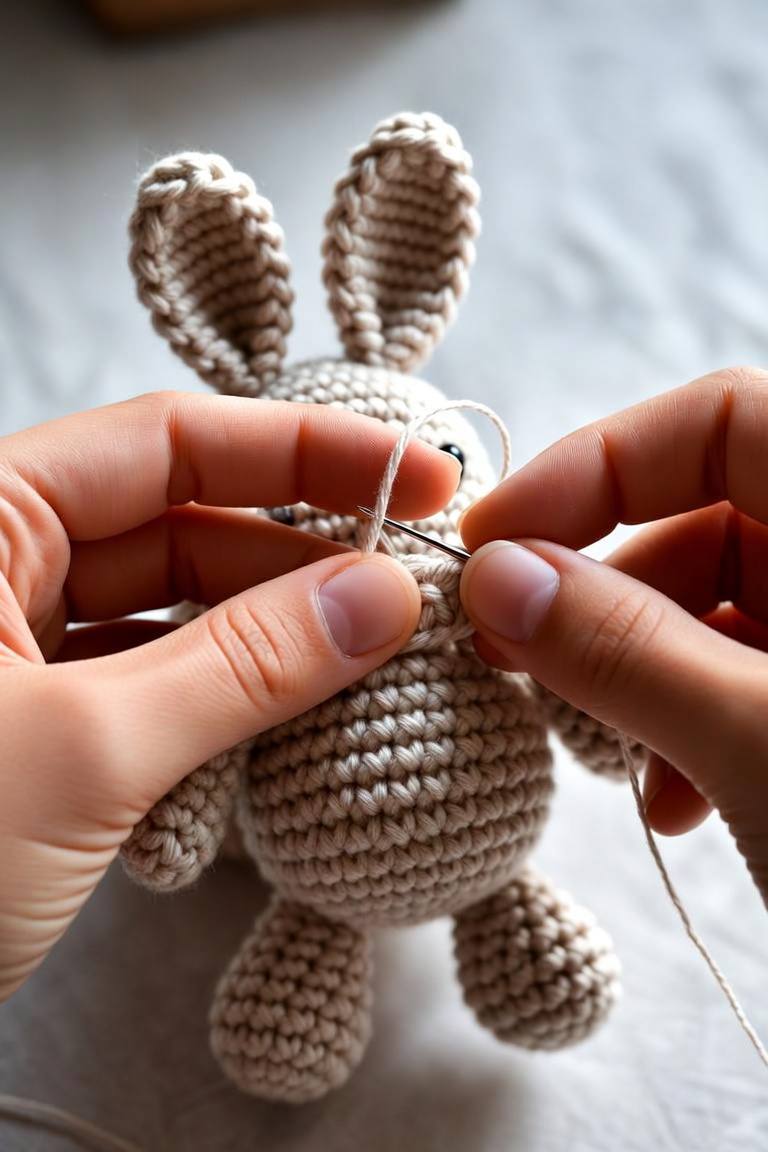
Assembly is where your bunny’s character truly comes to life. Follow this exact sequence to ensure symmetrical, sturdy results:
- Joining Head to Body: Pin the base of the head squarely over the 12-stitch neck opening of the body. Thread your long body yarn tail onto a tapestry needle. Pick up one front loop from the head and one stitch from the neck rim, pulling firmly after each pass. Before making the final 3 stitches, pack extra fiberfill directly into the neck seam to eliminate any hollow soft spots.
- Attaching the Ears: Pin the cupped bases of the ears over R4–R5 of the head crown, spaced approximately 4 stitches apart. Angle them slightly forward so they drape naturally alongside the eyes. Whipstitch through both folded layers of the ear base directly into the scalp.
- Attaching Arms and Legs: Whipstitch the flattened tops of the arms directly below the neck collar on Round 17 of the body. Position the haunch feet symmetrically on the lower flanks (R4–R6 of the body), angling the toes slightly outward so the bunny sits securely.
- Adding the Pom-Pom Tail: Sew a dense 1.5-inch yarn pom-pom over R4–R6 on the lower back center.
- Embroidering Facial Features: Using pink embroidery floss, stitch a small horizontal triangle over R12 between the eyes, with a vertical split line extending down to form the mouth.
👀 Essential: Multi-Size Safety Eyes & Noses Box
Complete organizer set with 6mm to 12mm black safety eyes and secure washer backings for plushies.
Check Price on Amazon →☁️ Best Stuffing: Fairfield Poly-Fil Premium Fiberfill
100% hypoallergenic, non-clumping loft that gives amigurumi toys a smooth, huggable shape.
View on Amazon →Common Bunny Crochet Mistakes
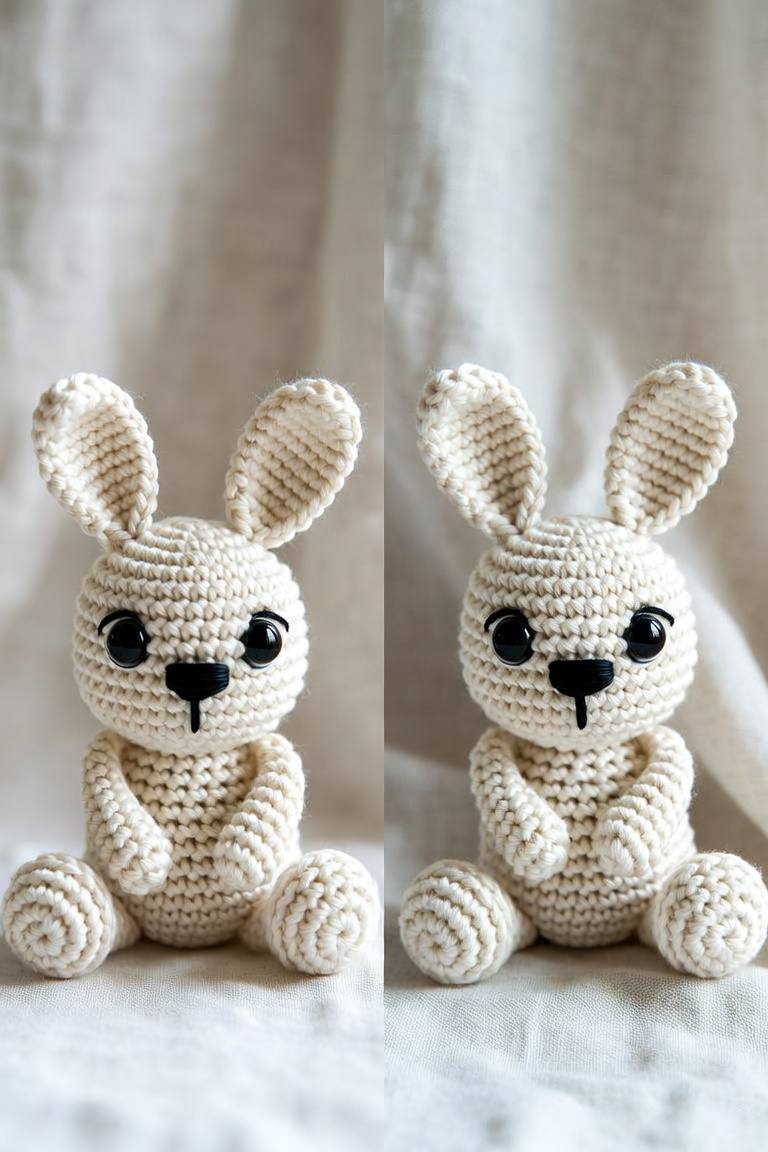
Even experienced crocheters occasionally encounter structural defects when making amigurumi rabbits. Here is how to diagnose and fix the top four issues:
- Problem 1: “Airplane Ears” Sticking Straight Out: Caused by putting fiberfill inside the ears or sewing the base completely flat without a center pinch. Fix: Never stuff lop ears; always pinch the base in half before sewing.
- Problem 2: White Stuffing Visible Between Stitches: Caused by using too large of a hook or loose yarn-over tension. Fix: Downsize your hook by 0.5mm and switch to the Yarn-Under (X-Stitch) method explained in our Beginner Amigurumi Masterclass.
- Problem 3: Wobbly Bobblehead Syndrome: Caused by loose sewing stitches or empty space around the neck join. Fix: Pack extra stuffing into the neck cavity with the back of a crochet hook right before closing your final assembly seam.
- Problem 4: Bunny Tips Backward When Placed on a Table: Caused by an undersized tail or lightweight base. Fix: Ensure the pom-pom tail is positioned low enough to act as a physical tripod support.
👀 Essential: Multi-Size Safety Eyes & Noses Box
Complete organizer set with 6mm to 12mm black safety eyes and secure washer backings for plushies.
Check Price on Amazon →☁️ Best Stuffing: Fairfield Poly-Fil Premium Fiberfill
100% hypoallergenic, non-clumping loft that gives amigurumi toys a smooth, huggable shape.
View on Amazon →Bunny Variations
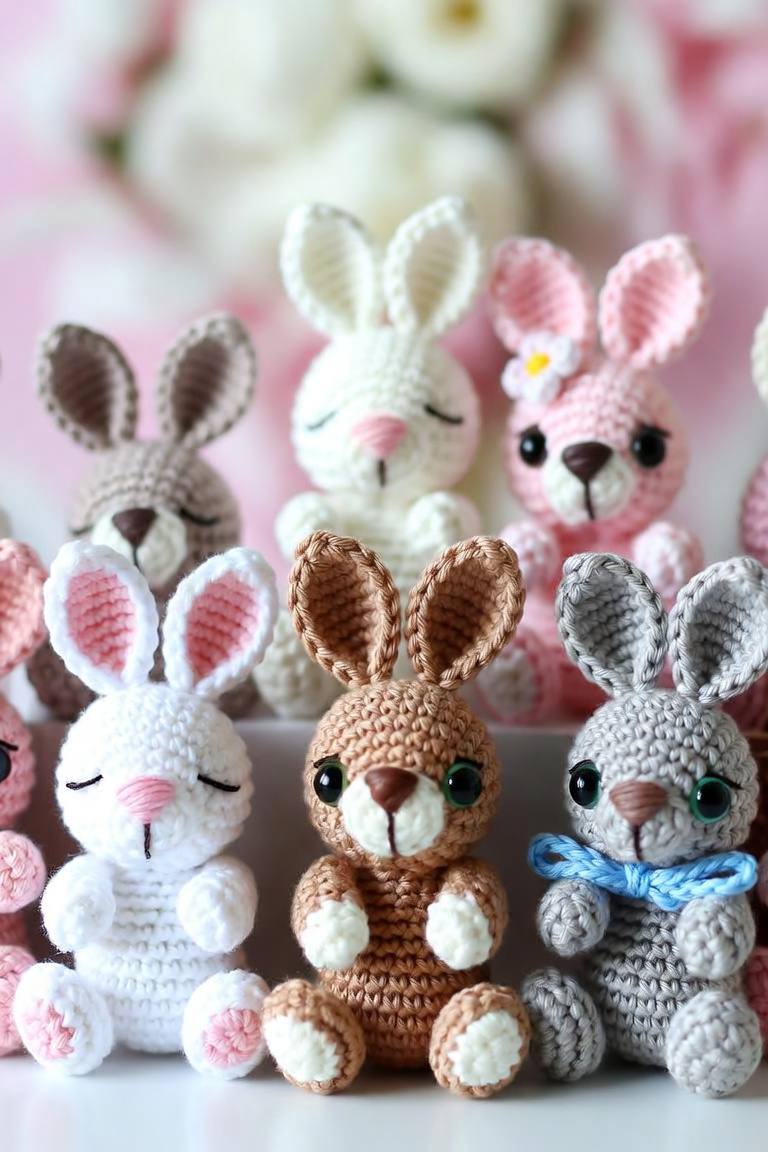
Once you have mastered the core pattern, explore these creative variations to expand your amigurumi collection:
- The Sleeping Nursery Bunny: Replace plastic safety eyes with delicate curved backstitch eyelids using black embroidery floss for an infant-safe, dreamy aesthetic.
- The Dapper Gentleman Rabbit: Add a mini crochet bowtie (Ch 6, 2 rows of hdc, wrapped center) or a striped vest.
- Floral Ear Accent: Stitch a tiny 5-petal daisy onto the base of one ear for a charming cottagecore touch.
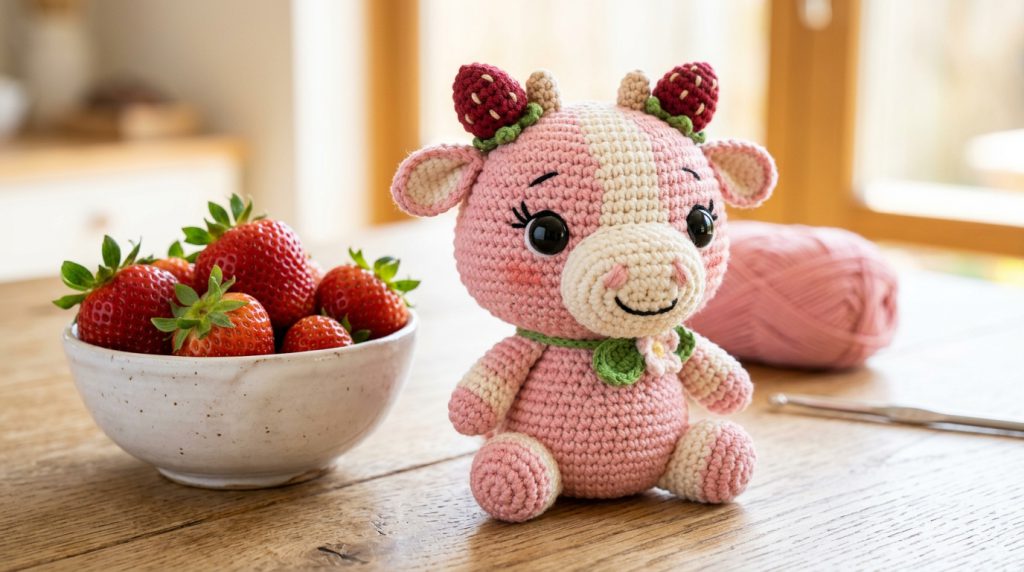
- Micro Pocket Charm: Use 4-ply cotton thread and a 2.0mm hook to scale this pattern down to a 2.5-inch backpack keychain. If you love quick stash-busting animals, also try our free no-sew crochet frog pattern and chubby strawberry cow pattern.
👀 Essential: Multi-Size Safety Eyes & Noses Box
Complete organizer set with 6mm to 12mm black safety eyes and secure washer backings for plushies.
Check Price on Amazon →☁️ Best Stuffing: Fairfield Poly-Fil Premium Fiberfill
100% hypoallergenic, non-clumping loft that gives amigurumi toys a smooth, huggable shape.
View on Amazon →Crochet Bunny Color Ideas
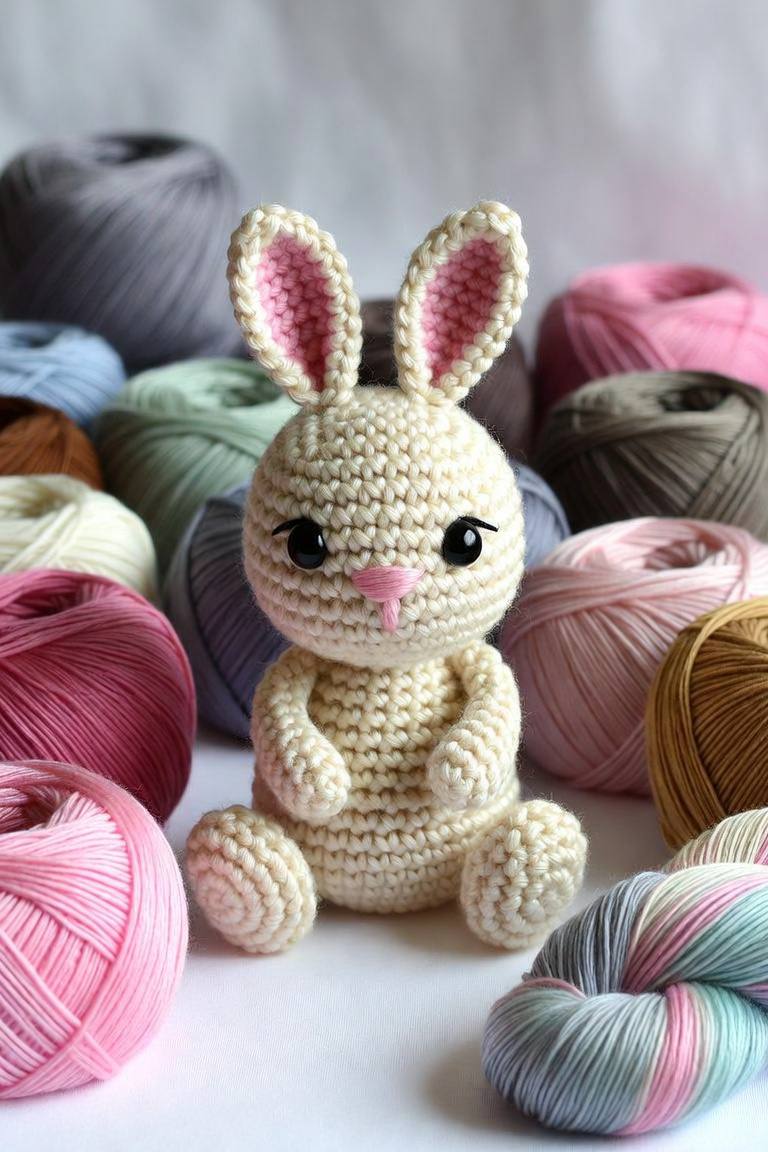
Color selection sets the emotional tone of your project. Here are three designer-curated color palettes tested for maximum visual appeal:
- Palette 1: Classic Woodland Heritage — Main Body: Almond Oatmeal; Inner Ears & Snout: Cream; Accents: Forest Green scarf.
- Palette 2: Springtime Marshmallow — Main Body: Soft Buttercream; Inner Ears: Blush Rose; Accents: Mint Sorbet scarf.
- Palette 3: Scandi Minimalist — Main Body: Ash Grey; Inner Ears: Natural White; Accents: Mustard Yellow scarf.
👀 Essential: Multi-Size Safety Eyes & Noses Box
Complete organizer set with 6mm to 12mm black safety eyes and secure washer backings for plushies.
Check Price on Amazon →☁️ Best Stuffing: Fairfield Poly-Fil Premium Fiberfill
100% hypoallergenic, non-clumping loft that gives amigurumi toys a smooth, huggable shape.
View on Amazon →Bunny Gift Ideas
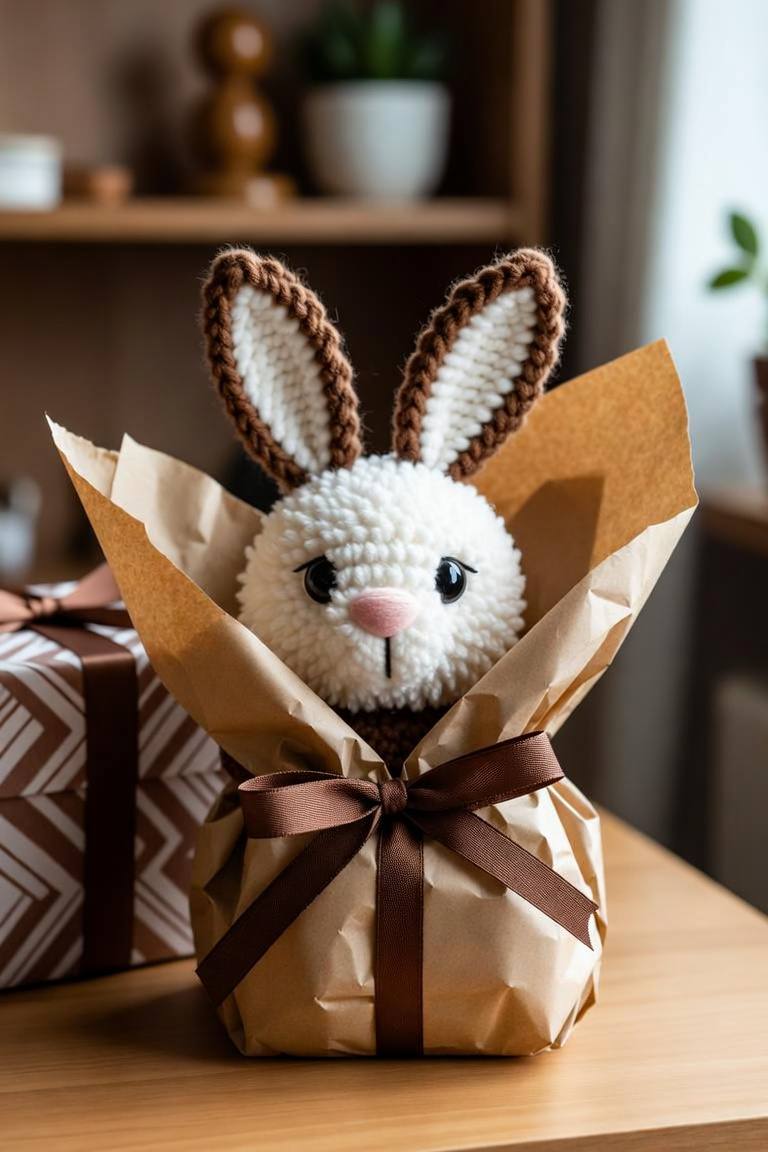
Handmade bunnies make unforgettable, cherished gifts for life’s most special milestones:
- Newborn Baby Showers: Pair your bunny with a matching beechwood wooden teether ring and baby-safe embroidered eyes for a luxury nursery hamper.
- Easter Basket Centerpieces: Nestle your bunny among chocolate treats, pastel wooden eggs, and spring greenery for an instant holiday heirloom.
- Desk & Mental Health Companions: A soft, pocket-sized comfort bunny weighted with lavender-scented poly-pellets makes a heartfelt gift for students and desk workers.
- Craft Fair Merchandising: Package finished bunnies in natural brown kraft boxes lined with botanical tissue paper, priced competitively between $30 and $45 for high sell-through rates.
👀 Essential: Multi-Size Safety Eyes & Noses Box
Complete organizer set with 6mm to 12mm black safety eyes and secure washer backings for plushies.
Check Price on Amazon →☁️ Best Stuffing: Fairfield Poly-Fil Premium Fiberfill
100% hypoallergenic, non-clumping loft that gives amigurumi toys a smooth, huggable shape.
View on Amazon →Frequently Asked Questions
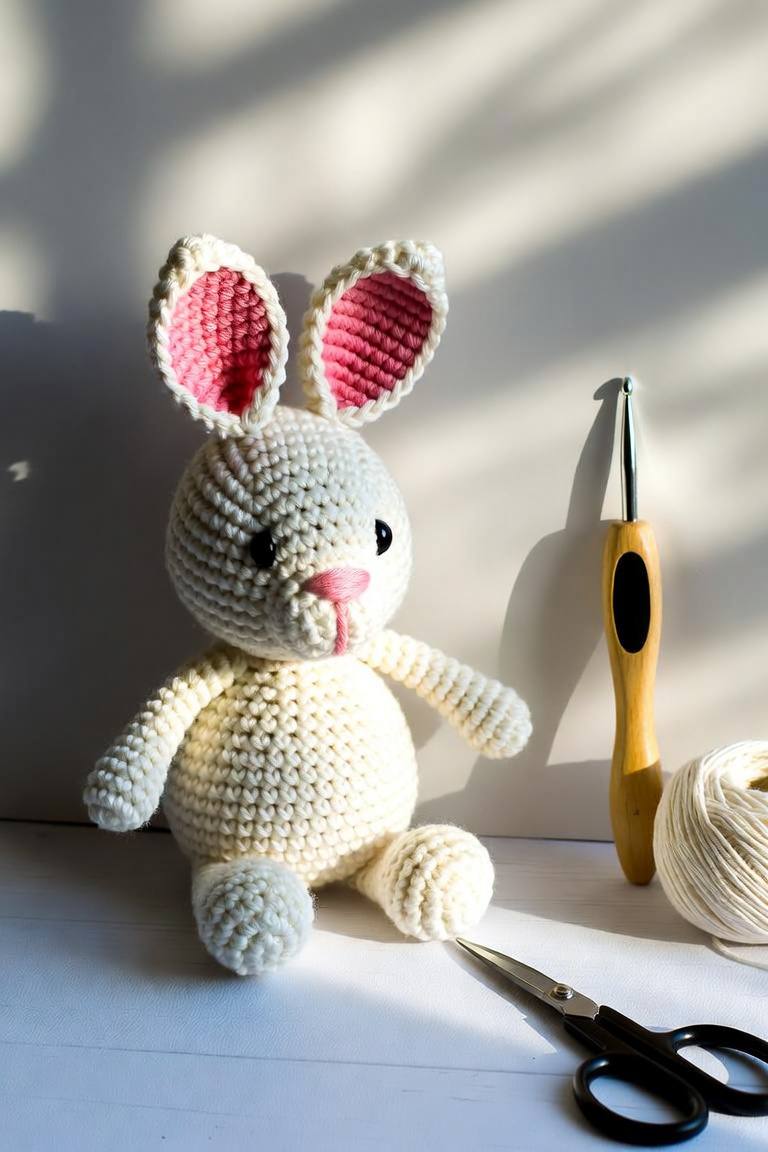
How long does it take to crochet this bunny for beginners?
An intermediate beginner can complete this pattern in approximately 2.5 to 3.5 hours. Absolute beginners working through stitches for the first time should allow 4 to 5 hours, breaking the project into two relaxing sessions (crocheting parts on Day 1, assembly on Day 2).
Are plastic safety eyes safe for babies under 3 years old?
No. While plastic safety eyes lock securely with washers, they are still considered small parts that present a potential choking hazard for infants and teething toddlers. For babies under 3, always substitute plastic eyes with embroidered satin-stitch or french-knot yarn eyes.
How do I wash and care for my handmade crochet bunny?
Hand wash in cool water using gentle wool wash or mild baby shampoo. Gently press out excess moisture between clean dry towels (never wring or twist), reshape the body and ears with your fingers, and lay flat to dry in a well-ventilated area away from direct sunlight.
Finished Bunny Showcase (Conclusion)
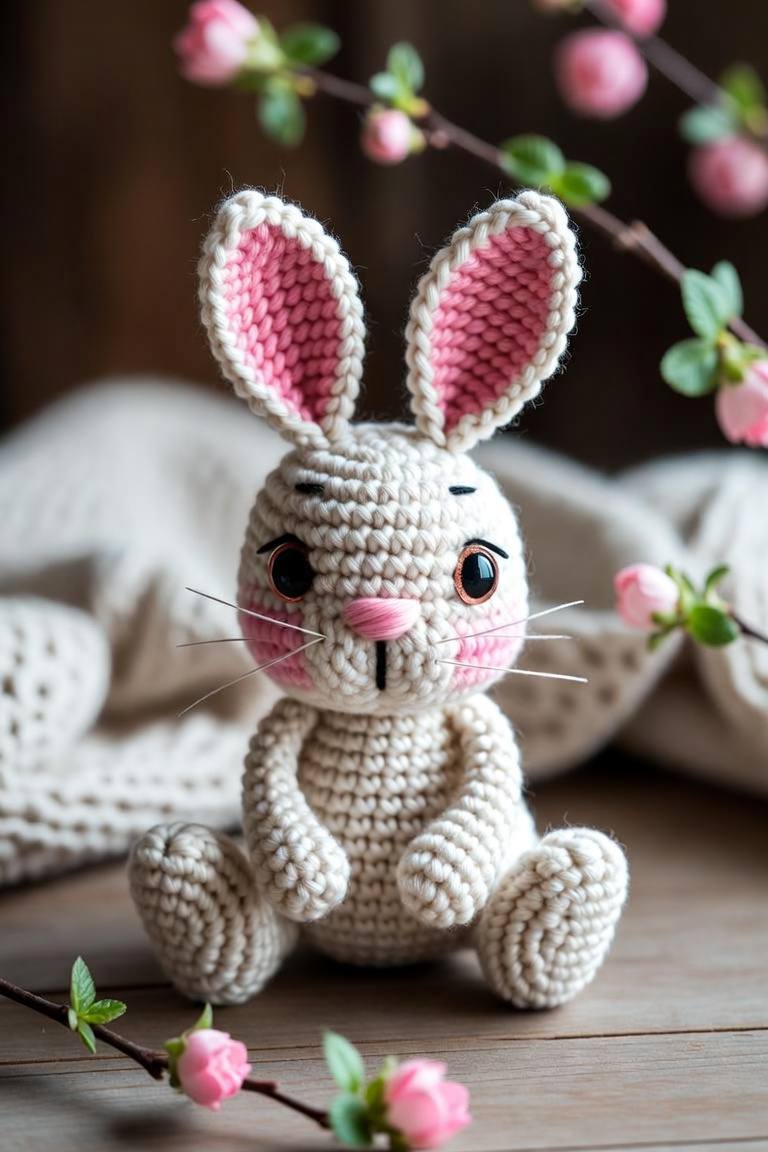
Congratulations! You have successfully crocheted, shaped, and assembled your very own handmade bunny amigurumi. With its sweet facial contours, graceful floppy ears, and sturdy sitting posture, your new creation is ready to be gifted, displayed, or cherished for years to come.
Remember that every handmade toy develops its own unique personality based on your individual tension and embroidery touches—that is the true magic of fiber arts. Bookmark this guide, share your finished photos with fellow makers, and continue exploring our full pattern library for your next exciting crochet adventure!
Materials Used For This Project
For crafters looking to use the exact supplies and tools featured throughout this tutorial, here is the complete materials list:
Lion Brand 24/7 Cotton Yarn
100% mercerized natural worsted cotton offering crisp stitch definition, zero splitting, and excellent toy durability.
Clover Amour Crochet Hook (2.75mm)
Ergonomic soft elastomer grip with a matte aluminum glide head that eliminates hand fatigue during tight amigurumi tension.
Multi-Size Safety Eyes & Noses Box
Assorted 6mm–12mm glossy black eyes with heavy-duty snap washers to keep features firmly secured.
100% hypoallergenic, resilient polyester stuffing that ensures smooth, clump-free plushie shaping.
Bent-Tip Tapestry / Darning Needles
Large-eye blunt darning needles with curved tips for effortless limb positioning and seamless joins.
Locking Stitch Markers Pack (100+ Pcs)
Snag-free locking clip markers essential for accurately counting continuous amigurumi spiral rounds.